Getting organized is key to a relaxed and less chaotic life. Finding a way to organize your things can be the biggest challenge. My problem is shoes. I needed to come up with a better storage solution for my shoes than the current one…which would be throwing them on the ground.

First, you have to determine the size of storage unit you need, taking into account not just the quantity of shoes you want to store, but also the space you have to work with.
Before I could cut any of the wood, however, I had to plan the structure of my shoe rack: How many shelves I need and how tall they should be. I am planning to have two boot cubbies on one side and the rest will be shorter shelving. I personally do not own a lot of high heels, so smaller shelves are perfect for me. Make sure that you measure your shoe heights to figure out how tall the individual shelves need to be. You will also need to measure the length of your shoes to confirm how deep your shoe rack needs to be so that the shoes will fit.
I am going to make a shoe rack that is 45 inches wide, 30 inches tall and 18 inches deep.

I purchased 2 plywood boards, and one large pine wood board that is longer then my desired 45 inches.

The first step is cutting all boards down to size.
I am going to have six shelves within the shoe rack, so to get started I need to cut enough boards for those as well as for the frame. First, measure and mark where the lines need to be cut and then use a circular saw and cut along the line.

I now have all of the boards I need for the project.

Because my boards are thinner, (.5 inches thick) using a standard nail or screw to attach them will be difficult because wood this thin has a tendency to split. The solution is to create grooves in the wood. You can then slide the shelves into the grooves.
To make the grooves, use a router. First, mark the location of the shelves on each side of the rack frame. I planned for the first two shelves to be slightly taller then the rest, allowing shoes with higher heels to fit. Once I had the wood marked for the grooves, I put the router to a setting that allowed it to cut into the wood but not go all the way through — this is key!

Run the router along the line slowly, carving out the groove in the wood.

The top and the bottom of the side pieces also have to be routed at the edges. This will allow the top and bottom pieces to connect tightly with the sides of the frame. Making sure all the pieces connect tightly is critical. Shoes can be heavy and if your rack cannot handle the weight, it will make all your work worthless.

With the all of the grooves cut, it is time to set the shelving in place. Lay one side down on the ground, with the grooved side up. Apply a thick amount of wood glue within each groove.

Slide in each individual shelf piece.

Put glue in the other side piece and then set in on top of the shelves, sliding them all into the grooves. Gently set the project upright. Glue in the top and bottom, and clamp tightly on all sides. Using the clamps will help the glue adhere to each individual piece of wood.

Let the rack sit overnight. This will give the glue plenty of time to dry and make sure the joints are secure.
Next, I cut my pine wood piece down to size. I wanted to have an edge of about 2 inches extending on both sides of the shoe rack, making it a fun and different focal point. Once the pine was cut down to size, I could stain it. I will paint the rest of the shoe rack white and think a dark walnut stain will be a beautiful contrast.

One thick coat of wood stain was all I needed. Pine has such a beautiful wood grain and the dark stain highlights it, which is exactly what I wanted to do.

Check that the shoe rack and glue are dry. I confirmed this by wiggling and shaking it a little to see if it all stuck. It did!
The plywood pieces appear very rough. While most of it will be covered with paint and any roughness will blend in, the edges will not. They have a lot of loose wood, chips, and dips, so I sanded the edges down to soften the look.


With the edges sooth, it’s time to paint! I am using a white, flat paint and primer combination, which allows me to skip the priming step and do it all at once. Prep your painting area with a drop cloth, and painting with a brush in the direction of the wood grain. In my case, most of the time this meant side to side.

The shoe rack needed two coats of paint. I did not have to paint the top of it because it will be covered by my freshly stained pine board.

Using the same wood glue as you did in the routed grooves, lay down a generous amount on the top of the shoe rack. Make sure you use enough wood glue, because this is the only thing that will attach the top to the main part of the shoe rack. Being sure it’s secure is very important!

Next, set some scrap pieces of wood on top of the pine board and then clamp it all together. This helps protect the stained board from being damaged by the clamps. Let that sit overnight.


In the morning it was done and I was eager to get started organizing my shoes!
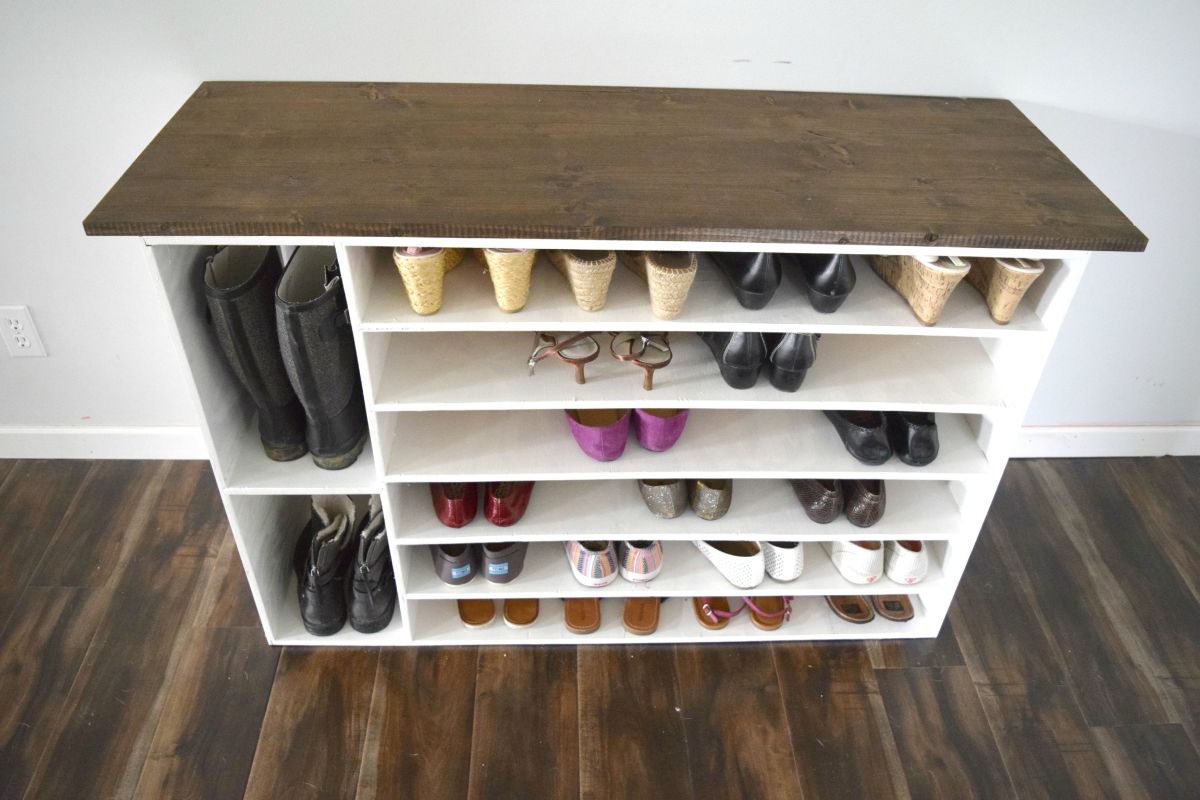
This is such a beautiful piece to store your shoes in, that it turns them into a part of the decor in any room.


Keeping the lines simple helps the piece feel fresh and uncluttered. The different shoes and patterns are more than enough detail for this piece.

Having the larger spaces for my boots is so nice. The wonderful thing about creating this yourself, is that you can create exactly what you need. Have a closet full of beautiful heels? Make each shelf tall enough so that you can showcase them!

This rack works very well along with another DIY project we completed, which is the x-shaped wood trim wall border.

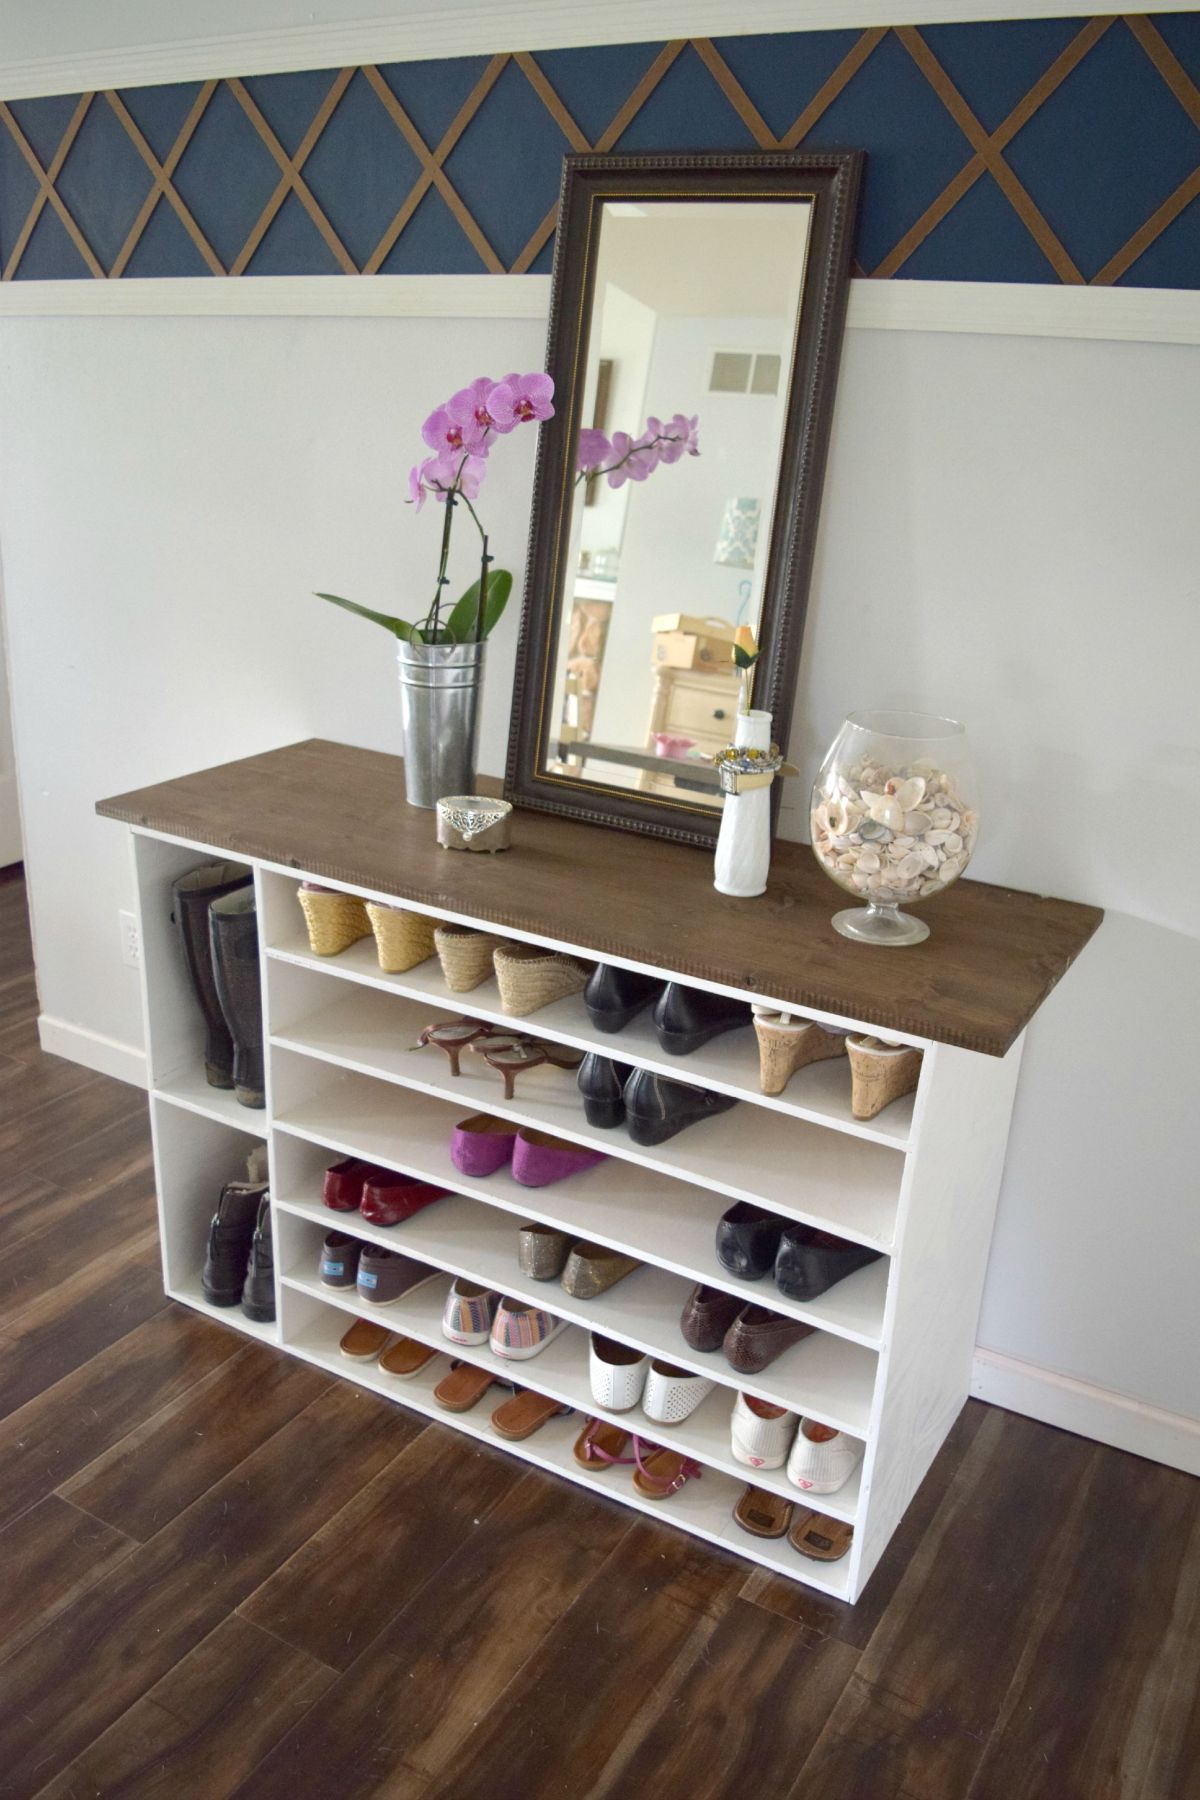
This was such a fun way to make a shoe rack be functional and attractive, allowing the rack to work perfectly in a space that is outside of the closet or the bedroom. Taking the time to stain the top board is what makes this piece truly feel like a new piece of furniture for your home.
You’re reading Stylish DIY Shoe Rack Perfect for Any Room , originally posted on Homedit. If you enjoyed this post, be sure to follow Homedit on Twitter, Facebook and Pinterest.
The post Stylish DIY Shoe Rack Perfect for Any Room appeared first on Home Decorating Trends – Homedit.
via. Home Decorating Trends