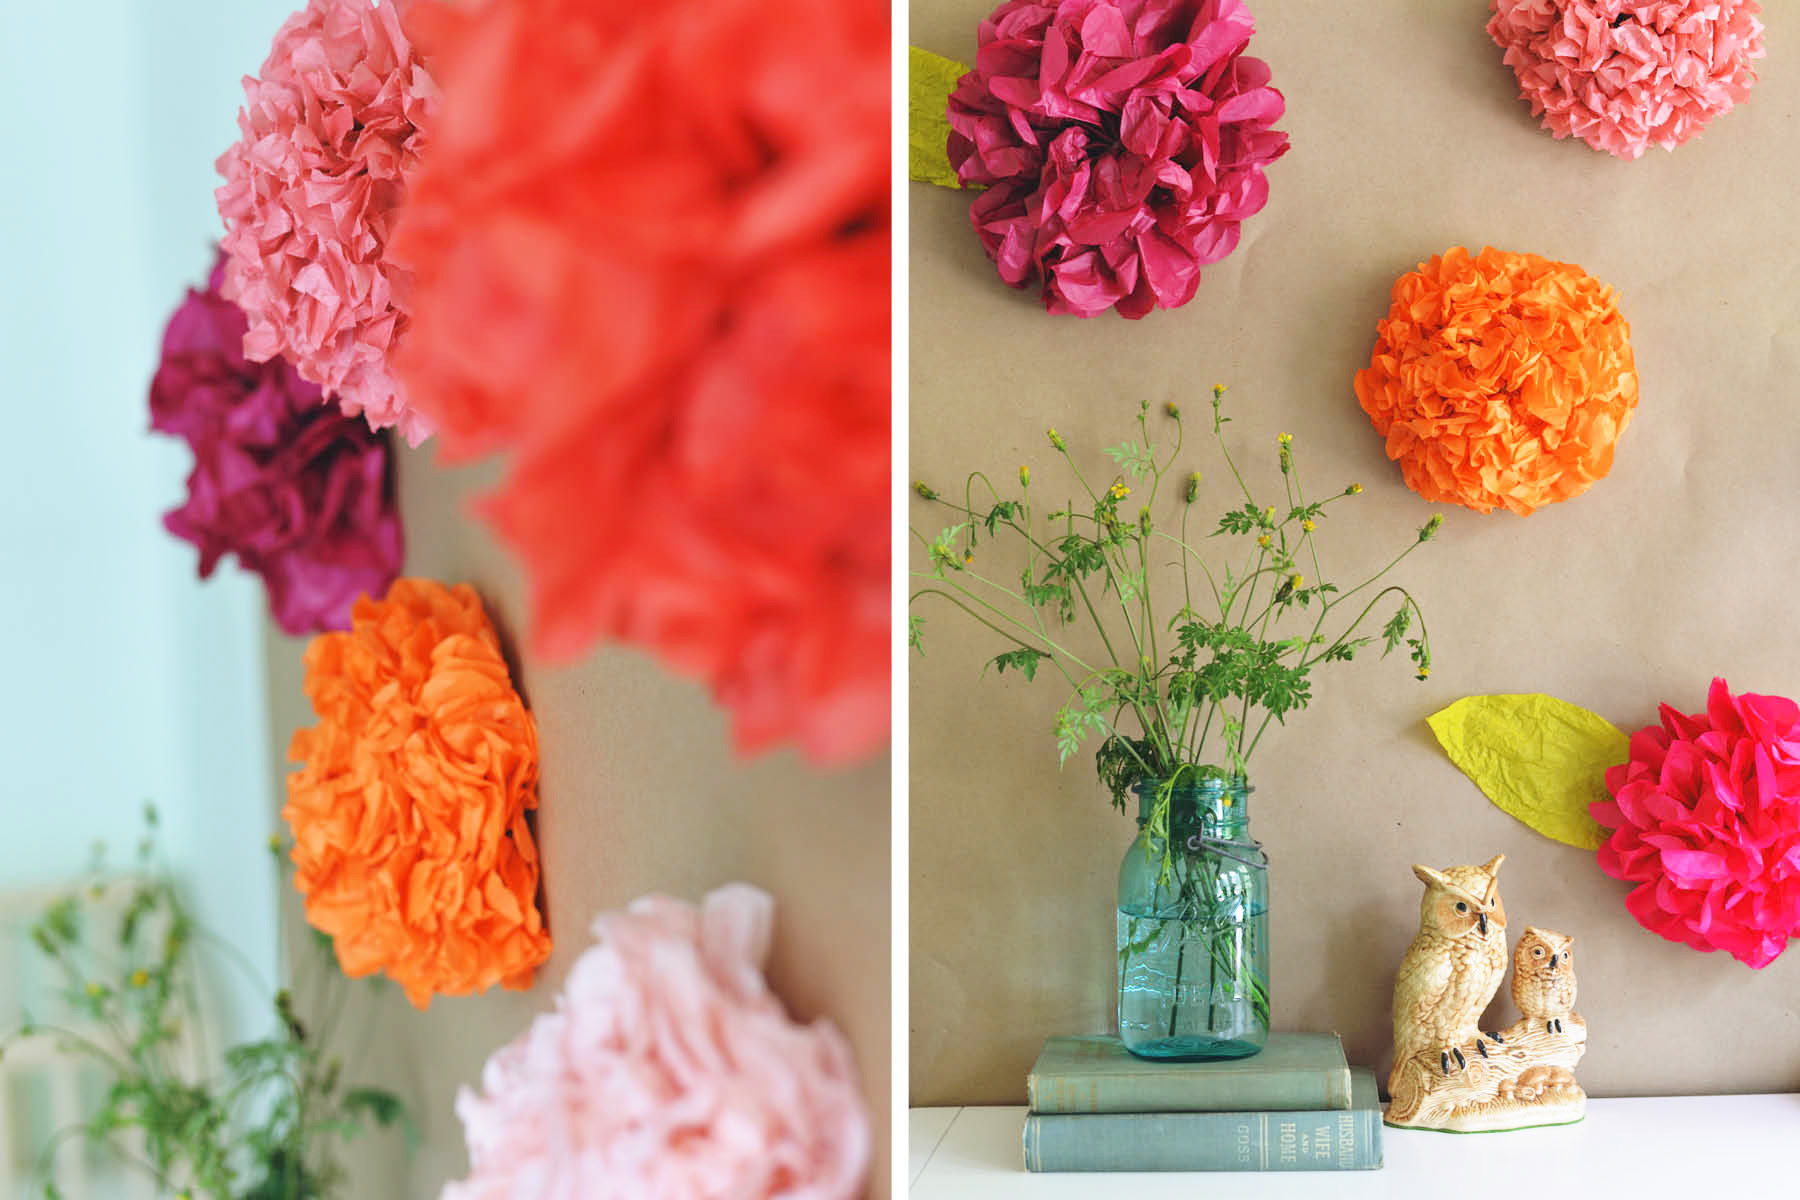
Autumn is a season filled with beautiful outdoor colors. With turning leaves, rich colored florals and the end of the harvest season it is a warm and wonderful time of year. For a fun autumn party we created this harvest buffet backdrop with large tissue paper flowers.

These tissue paper flowers are versatile and can be used not only for a party but around the house as well for an extra pop of color as the days get shorter.Read on for instructions on how to create one (or multiples!) of your own…
Supplies:
- tissue paper folds in multiple colors
- twine, yarn or twist ties
- scissors
- painter’s tape

1. Start by cutting your tissue paper to desired size. The width of the paper should be at least half the size of the length for unfolding. Use multiple sheets of paper- more for a more full flower (5-10 pieces) or less for a more delicate flower (4-5 pieces).

2. Accordion fold the paper in large or small folds until you reach the end of the paper. The larger your folds the larger the petals and less full the flower may look.
If you are going for a fuller looking flower make smaller folds and use more layers of paper.
3. Once you are finished with folding the accordion fold, tie a piece of twine, yarn, or twist tie in the center of the flower. Tie towards the back.
4. Create the petals by rounding out the two ends of the fold with a pair of scissors. Or you can cut in a triangular tip pattern for a pointy looking flower. Use heavy duty scissors if you are cutting multiple pieces at one time. If you prefer you can precut scalloped edges along the paper prior to cutting so long as your folds match up.
5. Pull the folds apart and start to pull each layer of fold out. Pull the outer most fold towards the center and carefully bring each layer out from there. Pull one fold from one side and then alternate to the other side and continue one until you have reached the last fold. Keep the last fold flat so that it will fit on a surface.
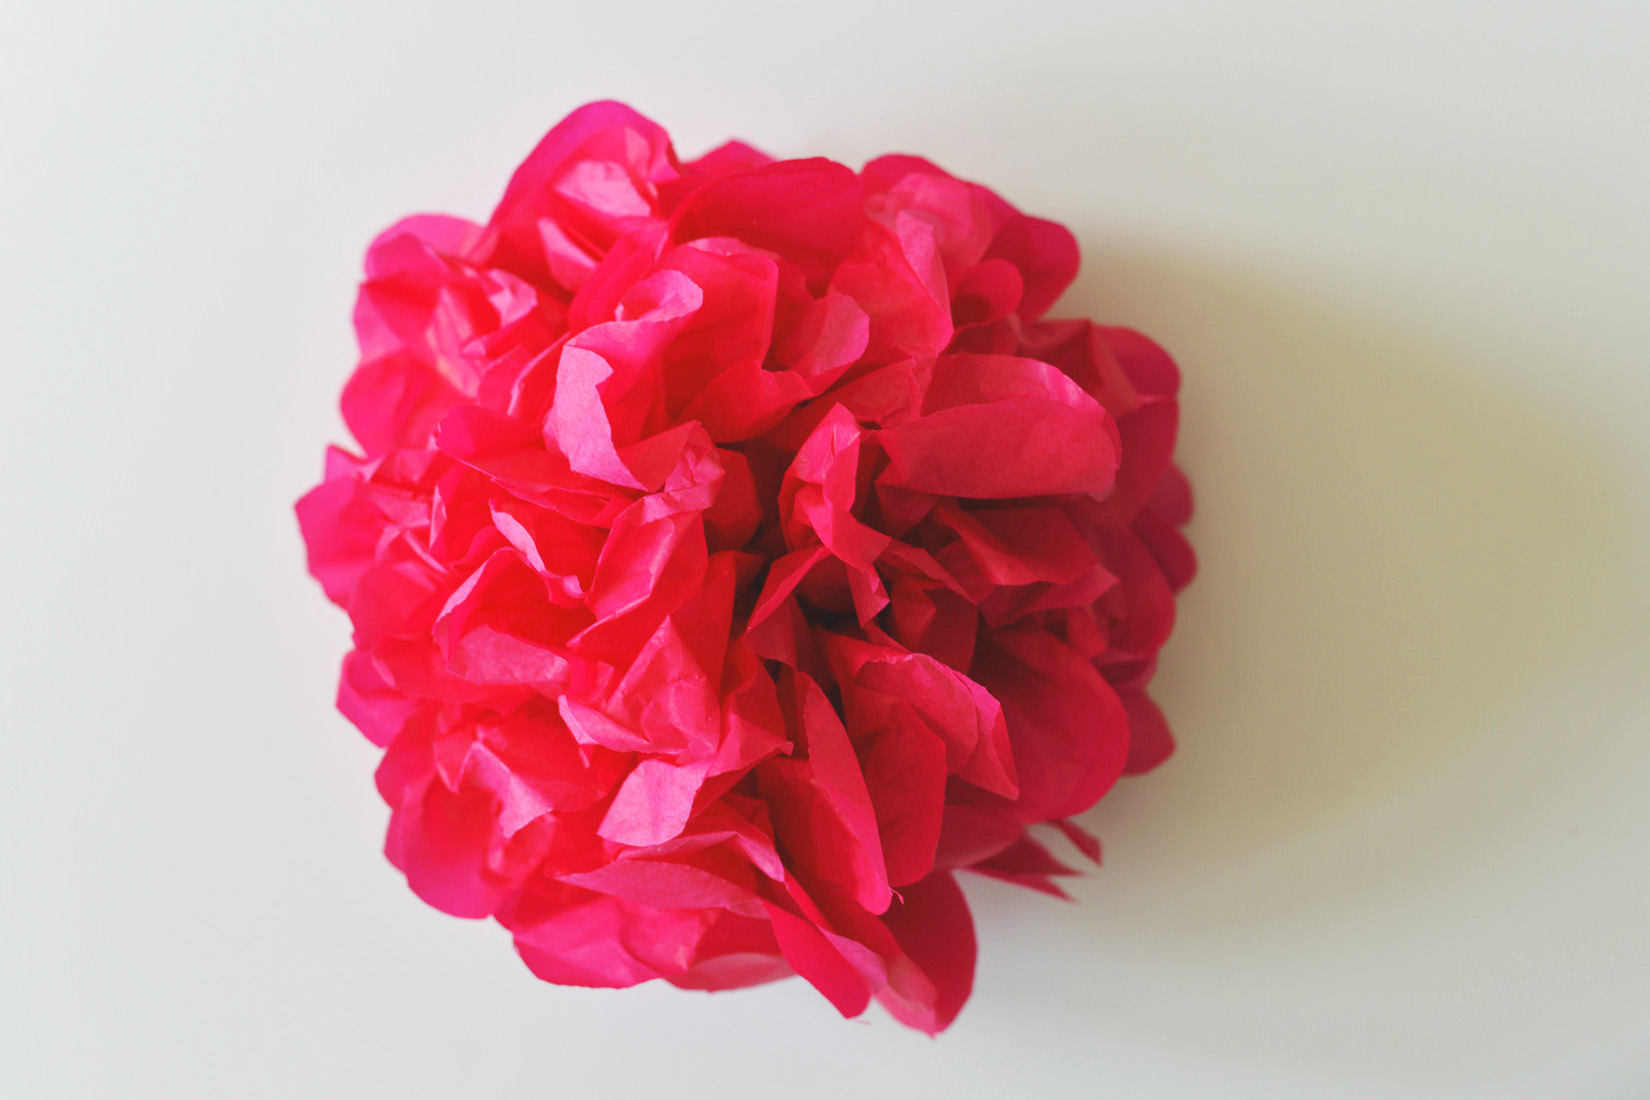
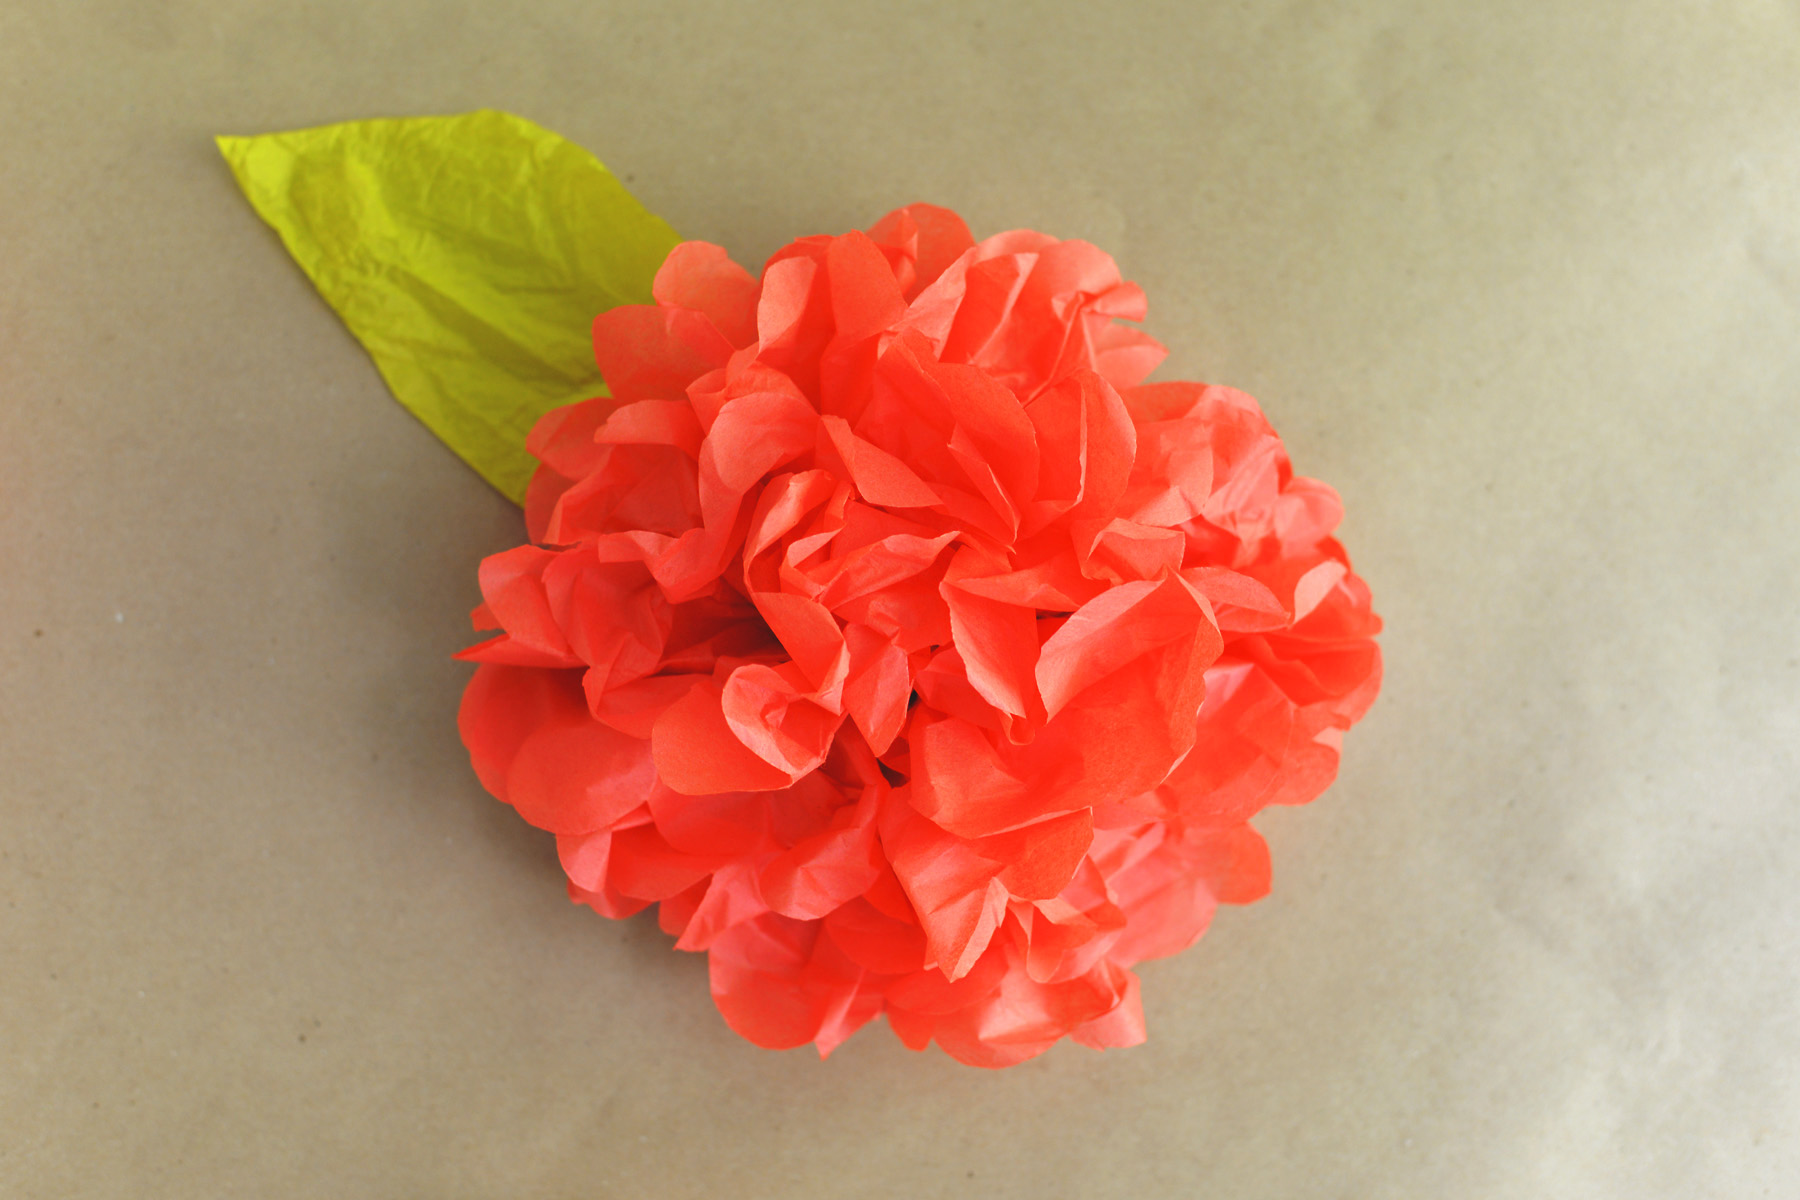

Once you are finished carefully pulling out the petals you can use painter’s tape to attach the flower to the wall for a display. Add green tissue paper cut out in a leaf shape if desired. Repeat the steps above for more florals in various sizes and textures.
If you prefer to have totally rounded out flowers, just use more tissue paper in longer pieces and pull both sides out towards the center working towards a middle piece in the fold that is your center piece. Or stick with the method above and attach two half flowers together with twine or tape.
Display on a piece of craft paper for a fun buffet backdrop. These multi-toned oranges and pinks mixed in with gold are perfect for an autumn baby shower or farmers’ market themed party!


You’re reading DIY Tissue Paper Flower Backdrop , originally posted on Homedit. If you enjoyed this post, be sure to follow Homedit on Twitter, Facebook and Pinterest.
The post DIY Tissue Paper Flower Backdrop appeared first on Home Decorating Trends – Homedit.
via. Home Decorating Trends
