Lighting is an often overlooked but key component of a home’s style. The possibilities of lighting designs are virtually limitless, the key is finding what speaks to you + enhances your space + stays within budget all at the same time. This tutorial provides a step-by-step guide on creating your own custom light fixture (this one is geared toward bathroom lighting) with an industrial vibe. You can lengthen or shorten the size, change up the number of bulbs, and customize the light in several other ways to fit your space and your style, but the end result will be a fabulous industrial lighting fixture that you’re sure to love for years to come.


Note: This tutorial is provided by an experienced DIYer, NOT a professional electrician. It is intended solely for demonstration purposes; seek professional advice with any questions or concerns you have. We are not responsible for any problems that arise as a result of following this tutorial. Also, this tutorial shows how to build a three-bulb industrial light fixture with basic tools (e.g., no router). Adjust supplies and materials accordingly as needed for more or fewer bulbs.
DIY Level: Intermediate

Materials Needed:
- 1×6 pine board cut to your desired length (example shows 30” for a three-bulb fixture)
- 3/8” poplar boards (approximate length needed = twice the height of your fixture + twice the length)
- Three (3) 1/2” galvanized floor flanges in black
- Three (3) 1/2″ x 4” galvanized nipples in black
- Three (3) 1/2″ x 3/4″ galvanized reducing elbows in black (one end is 1/2″ and the other is 3/4″)
- Three (3) outdoor/weatherproof sockets in black
- 10’ each black and white 14# wire (not shown)
- Four (4) 5/16”x4” hex lag screws (any color; will be spray painted)
- Twelve (12) 1/2” flat head wood screws (any color; will be spray painted)
- Three (3) Edison-style light bulbs (not shown)
- Rustoleum Hammered Grey spray paint
- Wood stain (example uses Minwax Dark Walnut wood stain)
- Wood glue + clamps
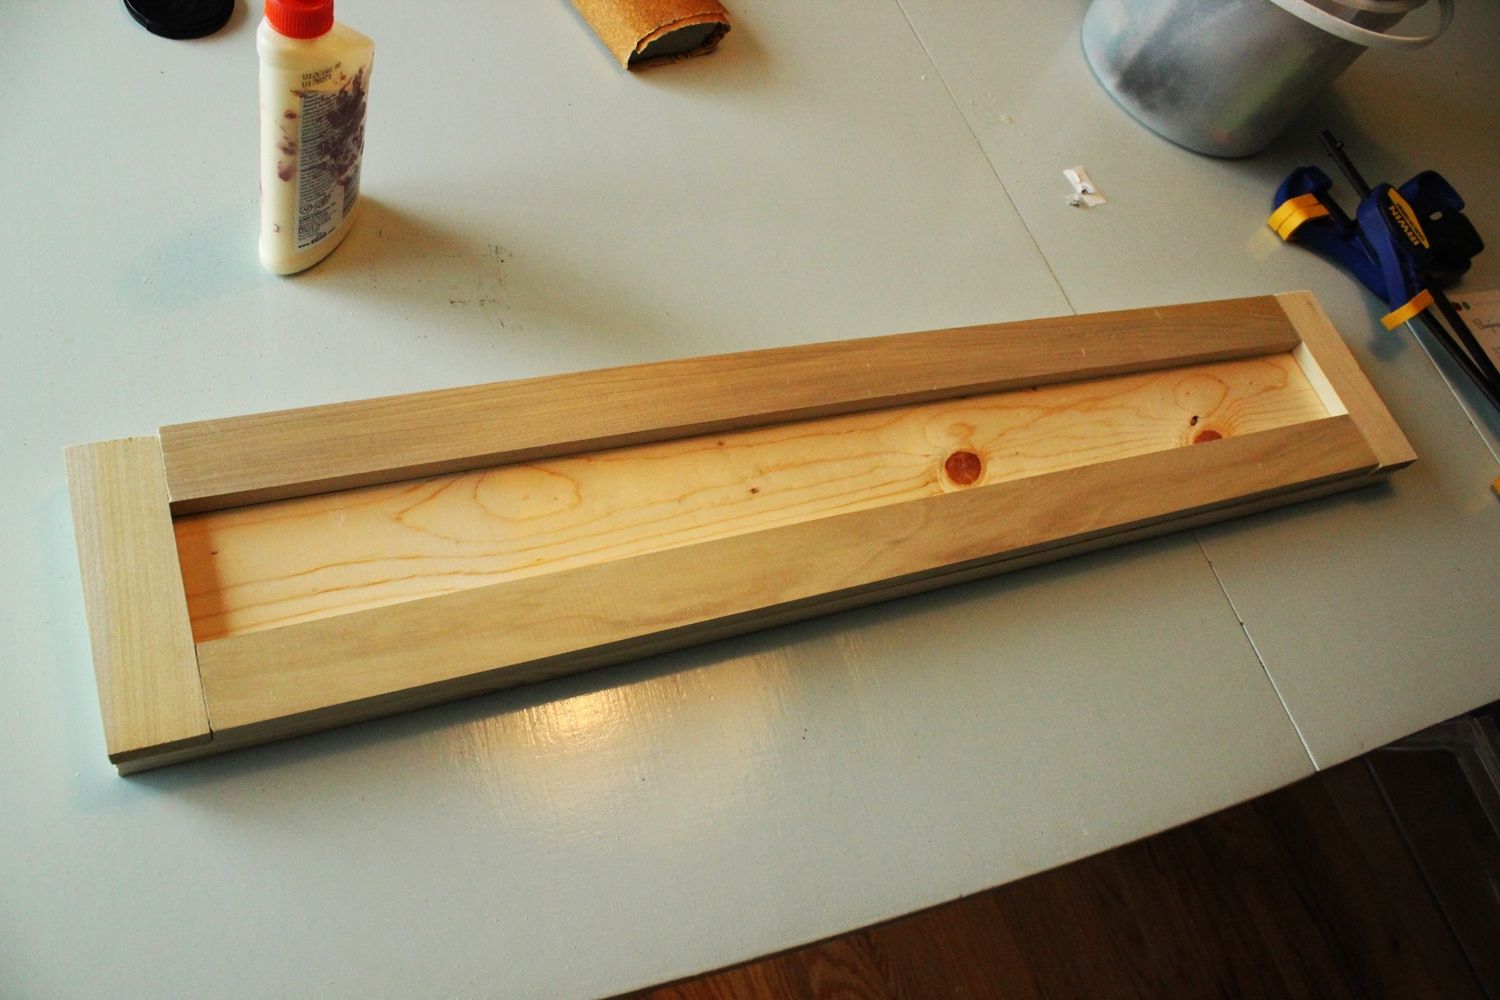
Step 1: Attach poplar boards to back of pine board. You want your poplar boards to match up exactly with the edges of your cut 1×6 pine board. Begin by measuring and cutting the two side pieces (that will run vertically), then measure and cut the top and bottom lengths to fit inside those.

Dry fit these to the back of your pine board, clamping into place to ensure alignment. Adjust lengths as needed for a perfect fit.

Spread a medium amount of wood glue to the poplar boards, then attach the glued side to the back of your 1×6 pine board.

Clamp in place; repeat for all four poplar boards.

Wipe away any excess glue that squeezes out.

Let wood glue dry completely.
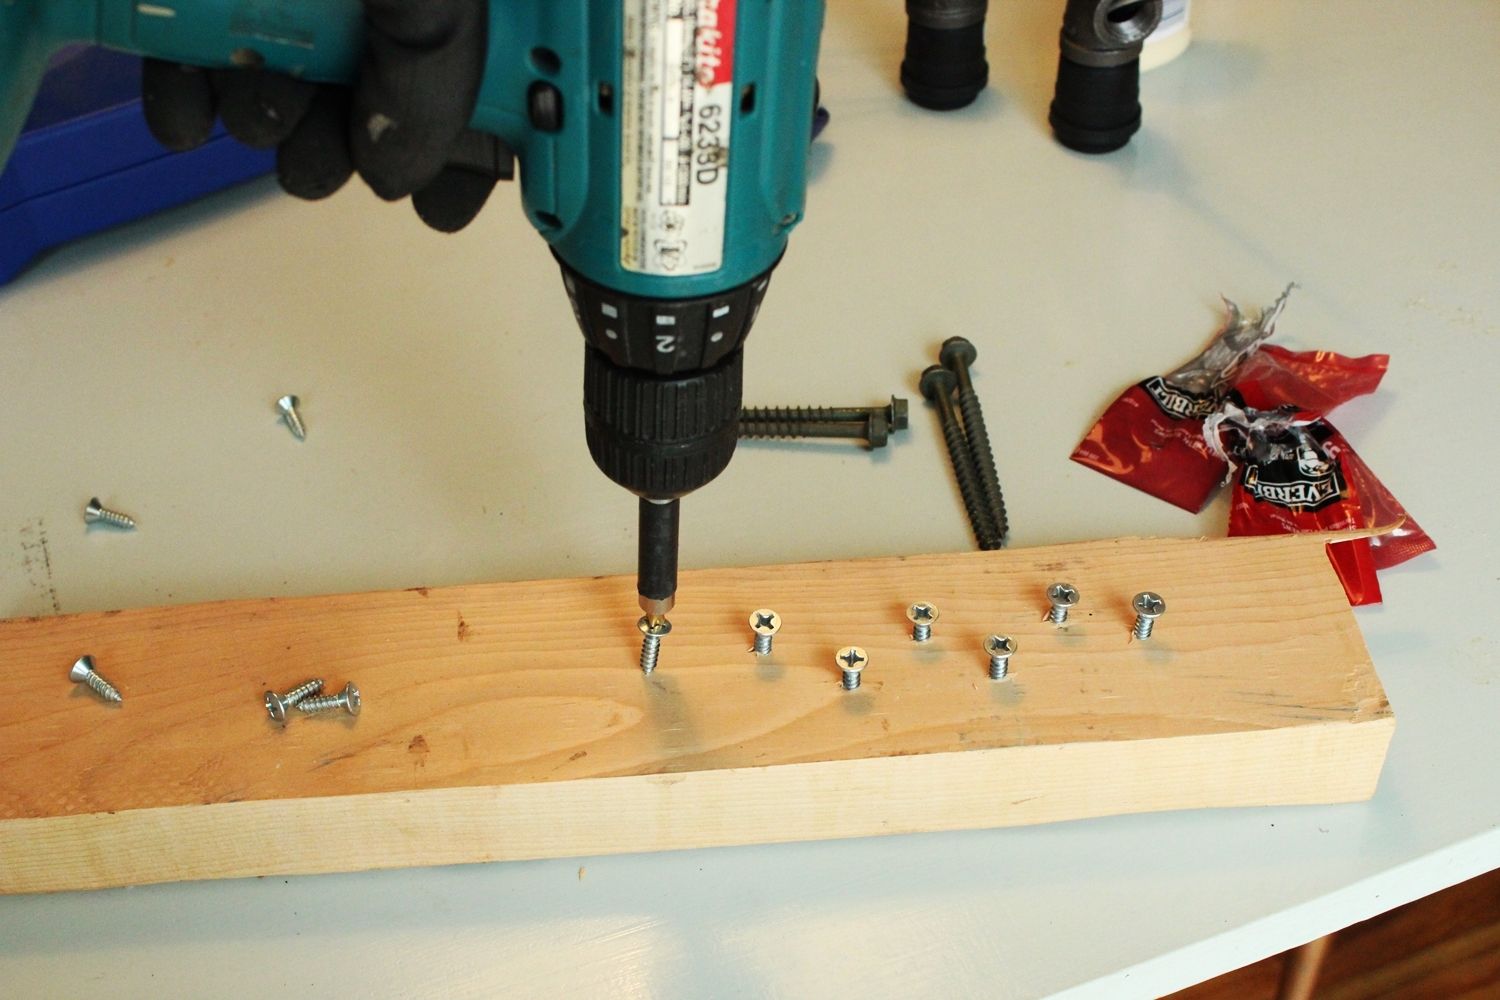
Step 2: Paint screws. Screw all flat screws and four hex screws a just little ways into a piece of scrap wood.

Spray paint the tops of these screws with your Rustoleum Hammered Grey spray paint. This color will pretty closely match the galvanized components of your lighting fixture. Let spray paint dry thoroughly.
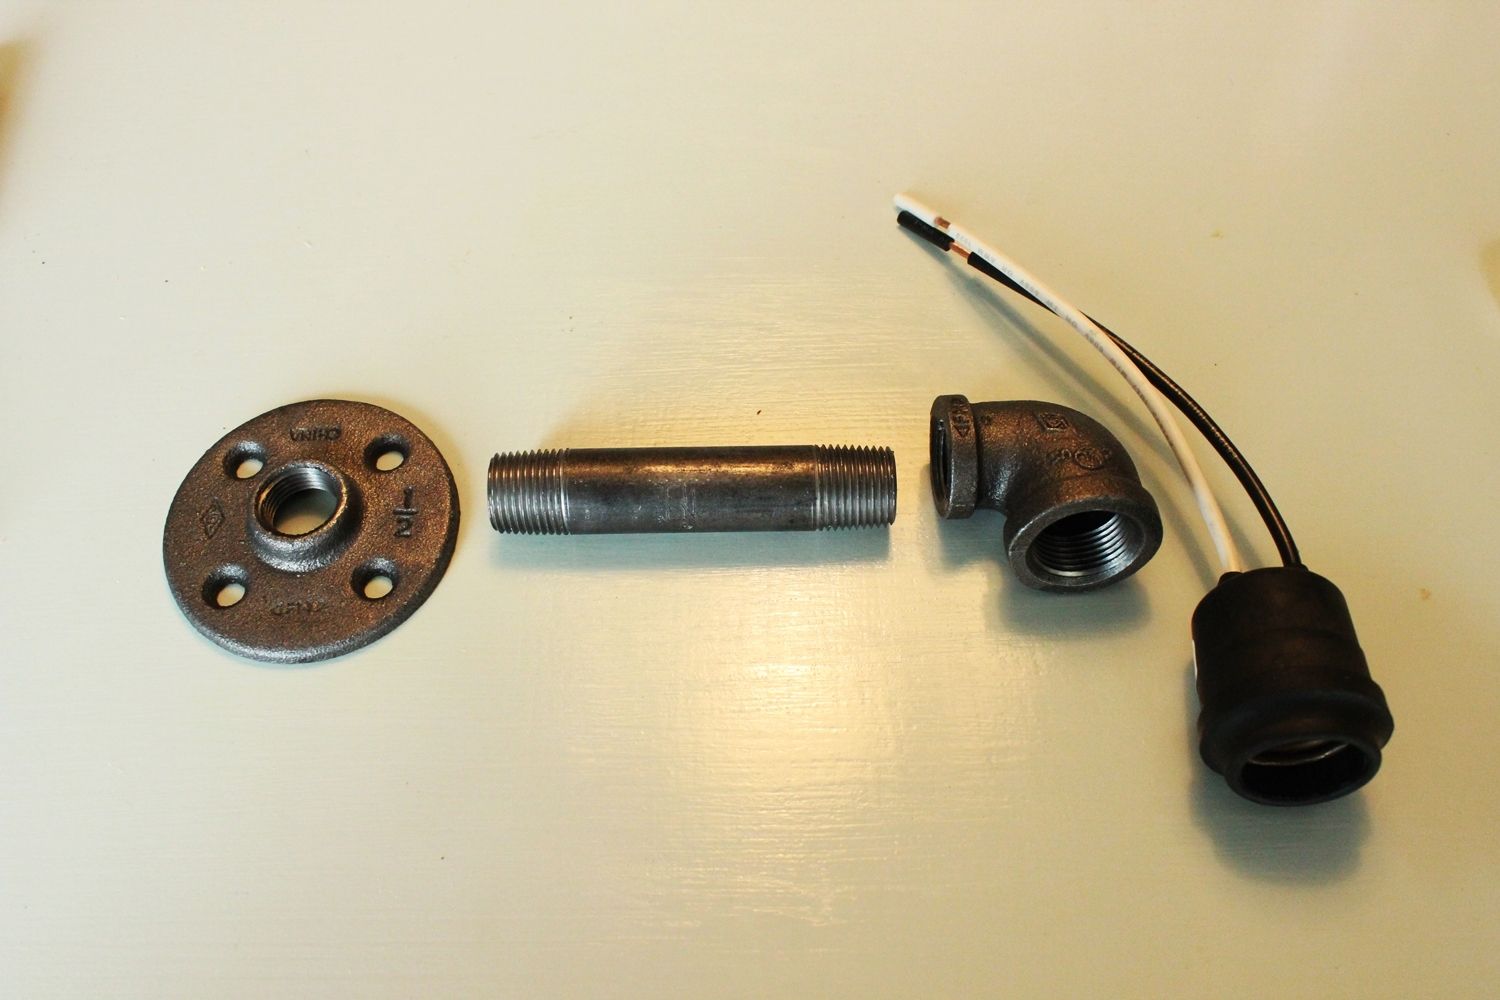
Step 3: Attach the sockets & wiring. Lay out the pieces in the order they’ll be assembled for each bulb, but don’t assemble them yet.

The outdoor/weatherproof sockets don’t fit into the 3/4” side of the galvanized elbows; in fact, I was unable to find any piece in which they’d fit for this lighting project. After squeezing the pieces together as best you can, use a small amount of super glue to attach the pieces.

Clamp the sockets and elbows together until the glue dries thoroughly; we waited 24 hours.
At this point, you might have several components of your lighting fixture drying – the wood glue on your 1×6 pine board, the spray paint on your screws, and the super glue on your sockets/elbows.

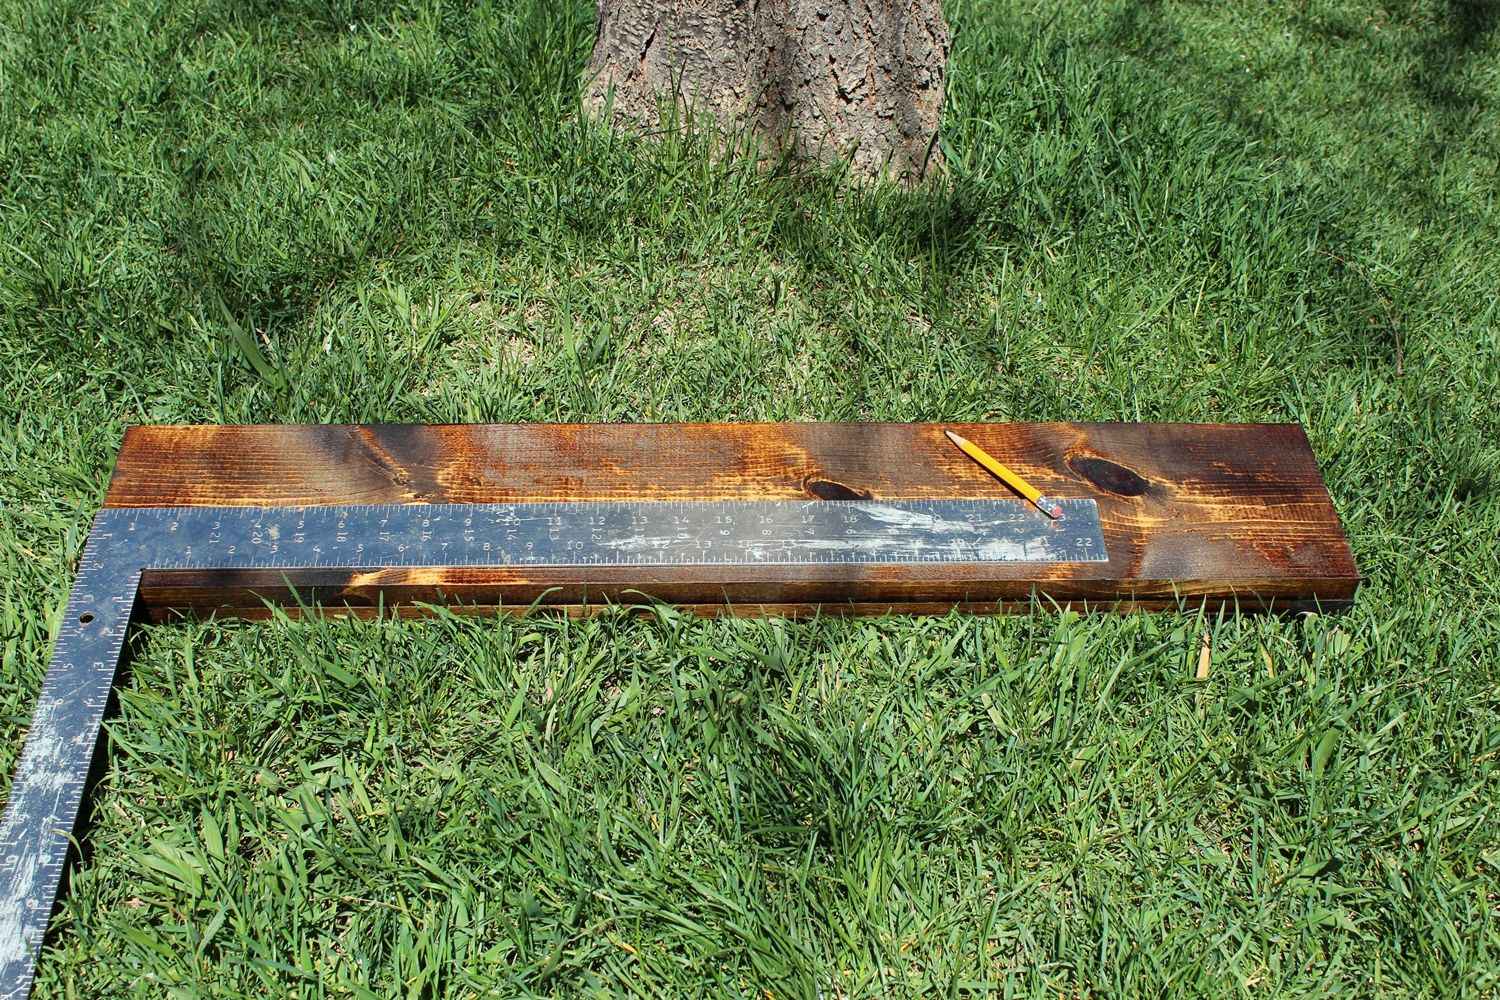
Step 4: Stain 1×6 pine board. When the wood glue has dried completely, add wood stain to the front and sides of your pine board, including the sides of your poplar pieces.

Brush wood stain on with a clean brush, wipe off excess after a minute or two. Repeat until you achieve the level of stained darkness you’re after. Let stain dry completely.
Step 5: Drill holes for lights. Measure the vertical center of your board and remember this number. Because this 1×6 board is 30” long and needed three light bulbs, I measured 7” in from each side, then 8” in from those marks. (So, from left to right, my measurements were: 7 – 8 – 8 – 7, with each dash representing a marked hole.)

Using the vertical center measurement and the side-to-side measurements, I marked then drilled these three holes. I used a 3/8” drill bit and made each hole a little wider than that, aiming for about 1/2″ in hole size.

With the holes drilled into your board and your sockets attached to the galvanized elbows, you’re ready to start wiring your industrial light fixture.

Step 6: Attach flanges to pine board. Center the holes of your flanges over the drilled holes of your pine board.

When the flanges are perfectly centered, secure them to the board with your spray painted 1/2″ flat head screws.
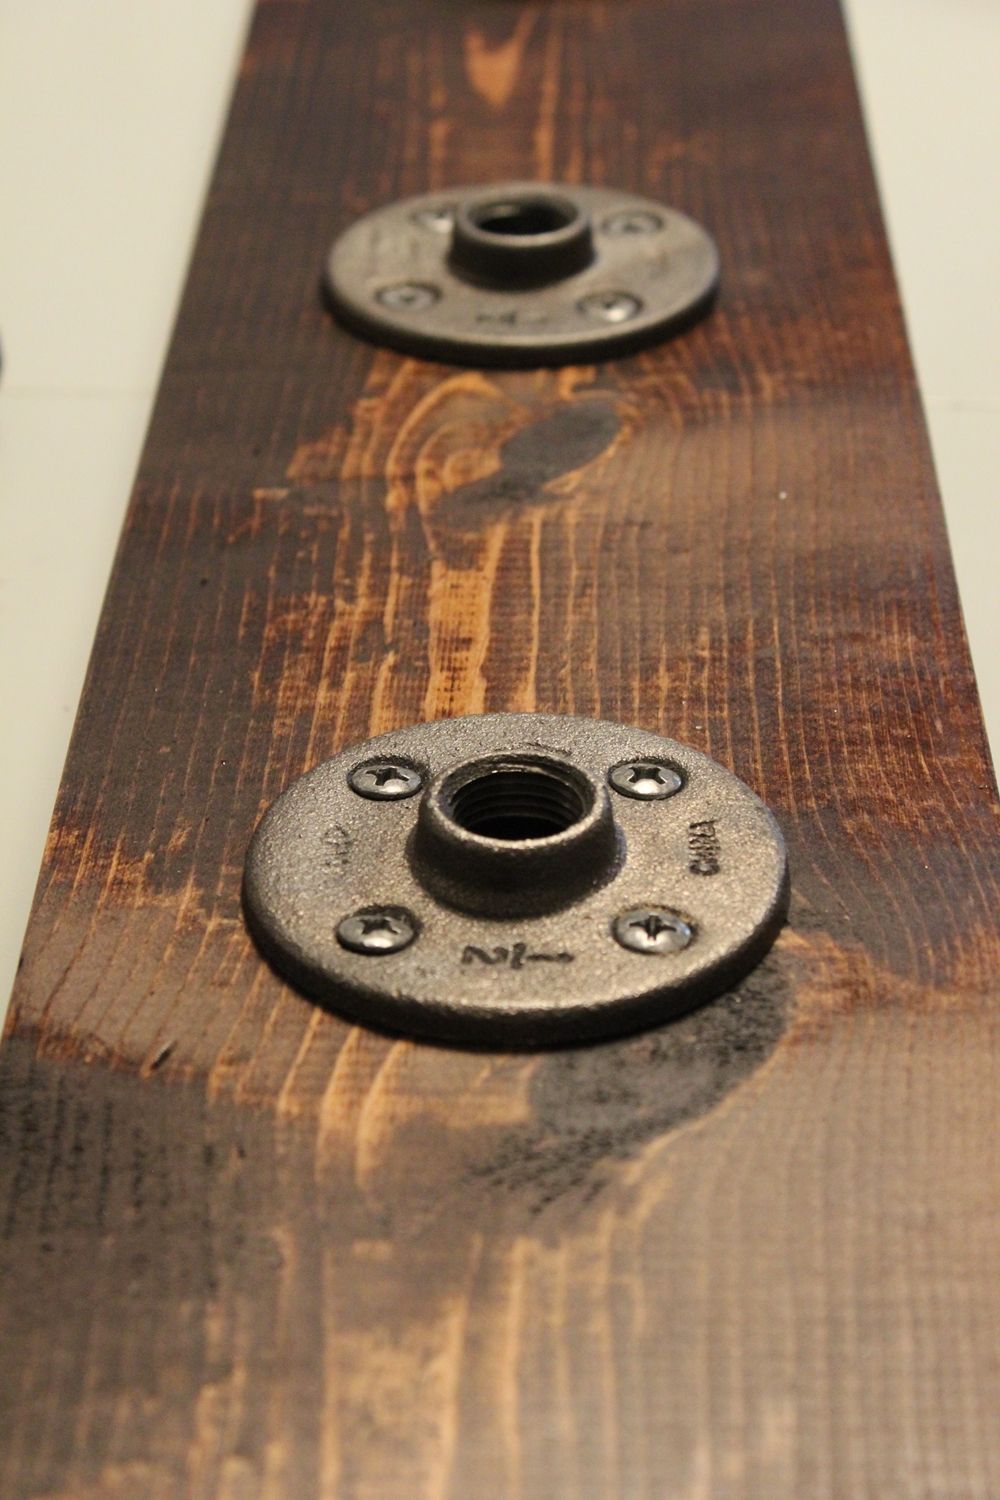
Viola.

Step 7: Wire the sockets. You’re going to want a parallel circuit so that if one light goes out, the others will stay lit. This simply means that each socket’s wires will be connected to the neighboring socket’s wires, thus making them all connected to the main electrical source (wall wires). (Note: The electrical source in my bathroom is off-centered on the right-hand side, so we wired our fixture accordingly. Make sure you know where your electrical source is, and plan accordingly with your wiring positioning.)

The socket wires will be too short to travel all the way through the 4” galvanized nipples, so you’ll want to attach additional black and white wires via wire nuts. These additional wires should be long enough to attach to the socket wires, travel through the 4” nipple, and reach the neighboring socket hole. Tip: Stagger-cut the socket wires so the wire nuts won’t hit at the same point in the 4” nipple.

Tape the wire nuts, straighten them out, and thread them carefully through the 4” nipple.

Thread the wires through the flange and drilled hole in the pine board, then carefully screw the socket + nipple onto the flange.

Repeat wiring steps on the neighboring socket. You should have the two sockets’ black and white wires long enough to meet up with each other. You will be adding in a third set of black and white wires to connect with the next (or, in this case, the last) socket.

Attach the three white wires (white wires from sockets #1 and #2, and a third wire that will connect with socket #3) and the three black wires (same socket-connecting situation) with wire nuts.

Add electrical tape around the wire nuts. You have one more socket to go.

Wire up socket #3 the same way that you did sockets #1 and #2, with the staggered-cut socket wires. Attach the third galvanized nipple to the flange after wires thread through the hole in your pine board.

With a wire nut, attach the black socket wire coming from the connection of sockets #1 and #2 to the black wire from socket #3, then add in one more black wire into the mix. This third black wire will be what connects to the black wall wire in your light fixture box. Do the same with your white wires. When all is said and done, you should have the free ends of just one black and one white wire; all other wire ends should be connected with taped-up wire nuts.

Step 8: Attach and hang your light fixture. First, FLIP THE ELECTRIAL BREAKER OFF. Then find the studs on your wall, then mark these positions on your fixture. Predrill your pine board for your hex screws, being extremely careful not to drill through the wires on the back. Wire up your light fixture, attaching the white wire of your fixture to the white wire of your electrical source, and doing the same with the black to black wires. After you’re wired up, ratchet the industrial light fixture into place with your hex screws. Check to ensure level.

Step 9: Screw on your Edison light bulbs. When your fixture is wired up and securely attached to the wall, screw your bulbs into the sockets. (Recommend Edison-style light bulbs, especially LEDs, for energy conservation and warm lighting.)

My bathroom had only two usable studs, very close to the center of the light fixture. Fortunately, they were mostly centered, even though I would have preferred them further toward the ends of the light fixture itself.

Flip the breaker back on, and try out your new industrial light fixture. Isn’t it fantastic?!
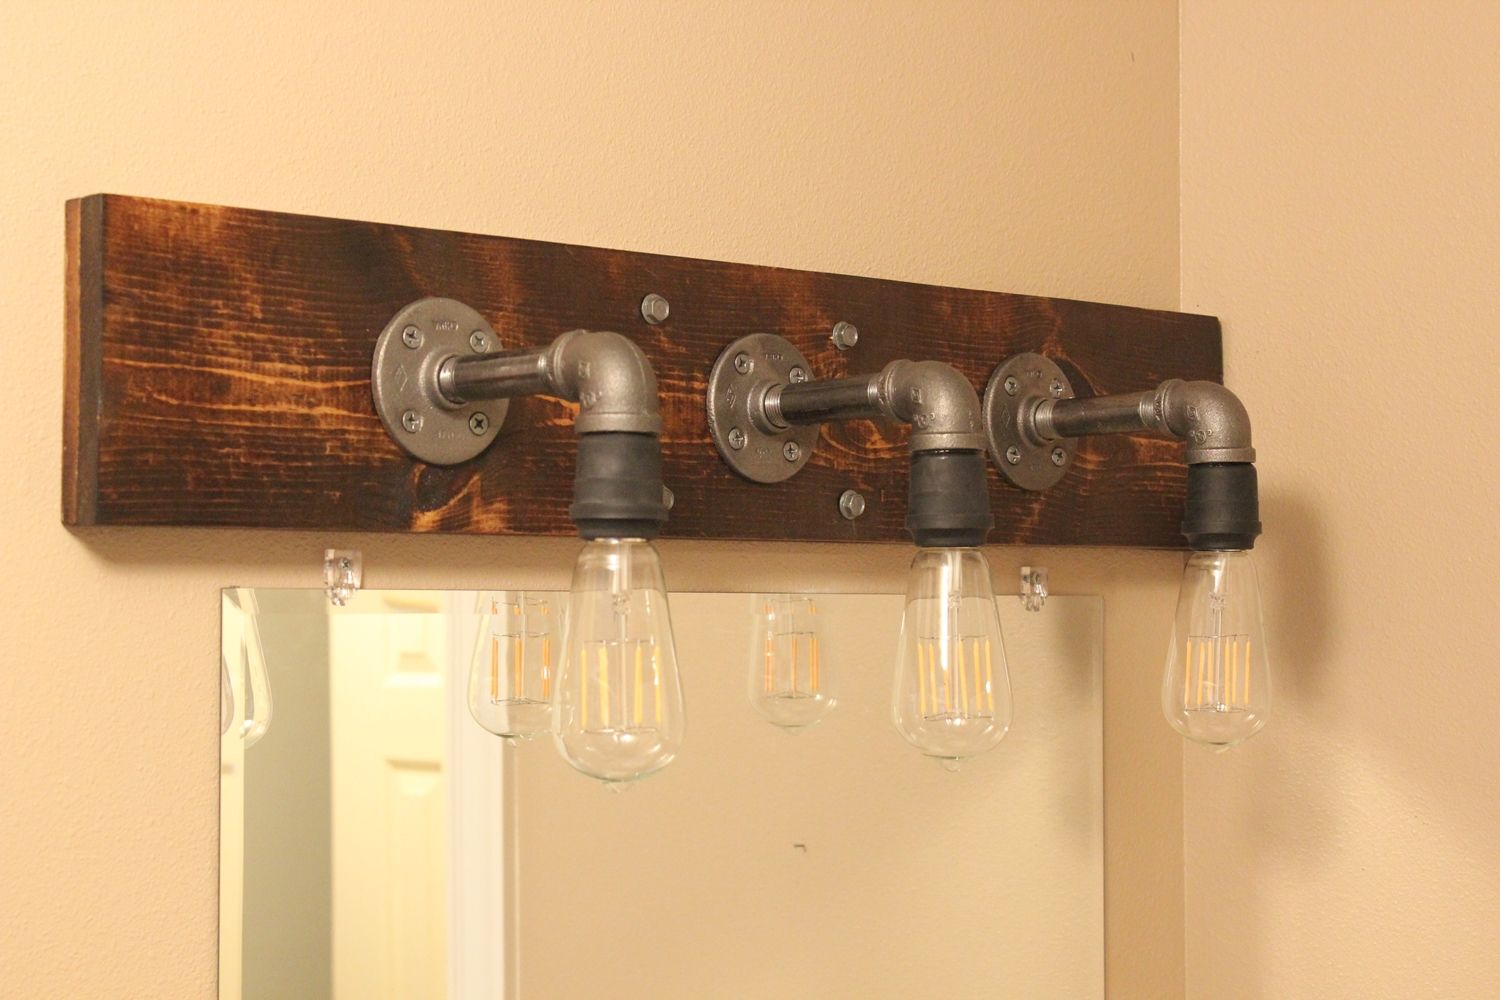
Congratulations! You’ve just completed your industrial light fixture, and your bathroom is well on its way to becoming the stylish space you envision. We hope this tutorial is helpful in your DIY journey for an industrial-style bathroom light fixture.
You’re reading DIY Industrial Bathroom Light Fixtures , originally posted on Homedit. If you enjoyed this post, be sure to follow Homedit on Twitter, Facebook and Pinterest.
The post DIY Industrial Bathroom Light Fixtures appeared first on Home Decorating Trends – Homedit.
via. Home Decorating Trends