DIY furniture can often be daunting. But really who doesn’t love to say “Thanks, I made that” after a compliment on a cool piece of furniture in your home. So with a little elbow grease and a few supplies you can create your own simple pipe shelf in less than an hour. And the best part is that you can make it whatever size you want for your space! How about that? It’s easier than you think!

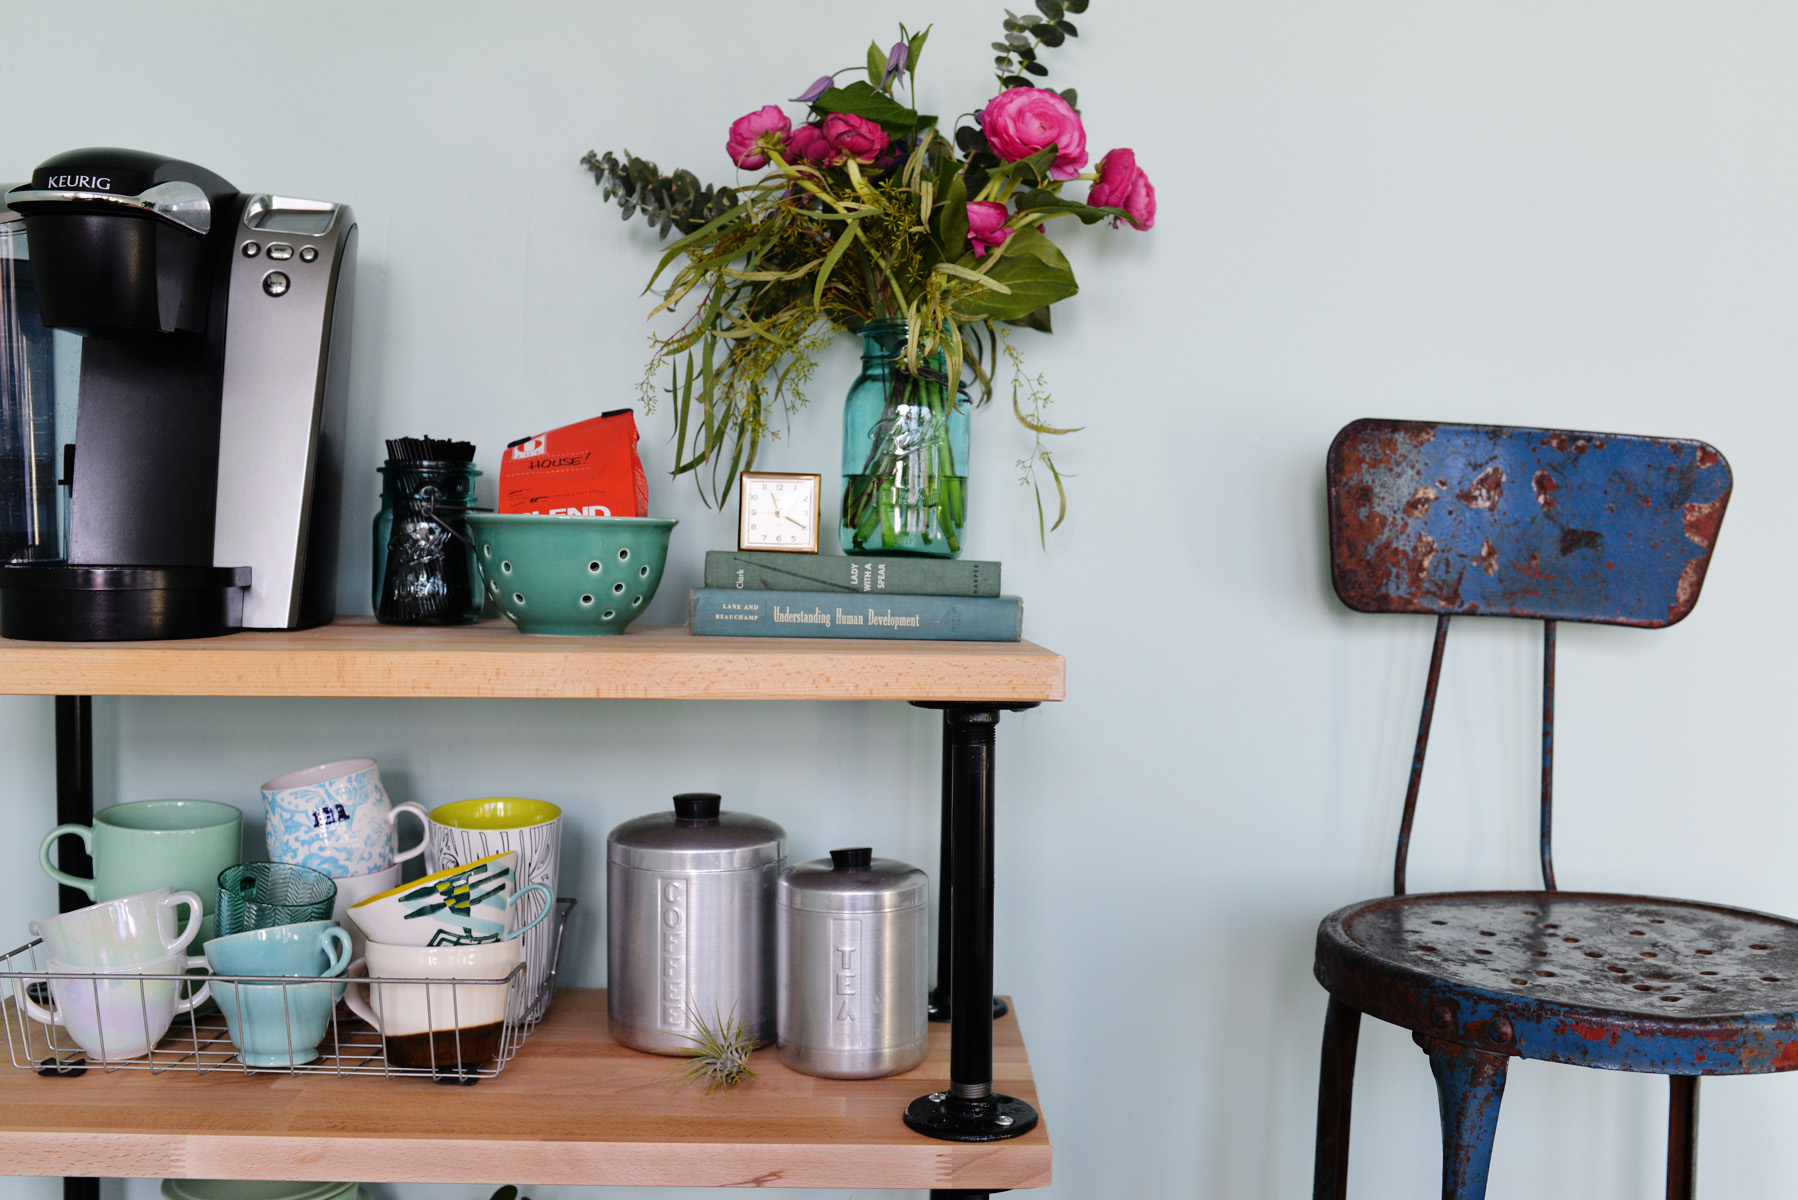
Use this shelf as a makeshift coffee cart in a spare corner of your kitchen, extra storage in your office, or as a bookshelf in your bedroom. A versatile piece that could work in almost any room of the house!

Supplies:
- drill with phillips head bit and small regular bit for pre-drilling
- black spray paint (optional)
- 3 pieces of wood all cut to the same size (your local hardware store should be able to cut this for you if you don’t have a table saw)
- 4 swivel casters (2 with locks)
- 4 12 inch pipes (3/4 inch used here)
- 4 10 inch pipes (3/4 inch used here)
- 16 flanges (3/4 inch used here)
- box of short screws- at least 32
- pencil

Instructions:
1. Here we started by spraying all of our pipe black. This step is optional. You can leave your pipe as is or spray a uniform color with spray paint.
2. To build the shelf, start by connecting a flange to the top and bottom of each piece of pipe and set aside. You should have 4 longer pipes and 4 shorter pipes.
3. Using one of the 3 pieces of wood, lay on a flat surface. This piece will be the top. Place your 4 smaller pipes in all 4 corners. With a pencil, mark the spots of the holes in the flanges (here we used 2 screws per flange- directly opposite each other in the circle- instead of 4 so that there is a little more give to compensate for the potential variance in size of your pipes as they are not always cut perfectly equal).
4. Pre-drill your marked holes.
5. Screw each pipe flange in place.

6. You will now end up with a pice of wood with 4 pipes sticking up in 4 corners. Lay your second board on the flat surface and flip the first board with pipes over so that the flanges that aren’t connected are laying flat on board #2 in the matching corners. Repeat steps #3-5.
7. For the second tier, use the 4 leftover longer pieces of pipe and repeat steps #3-6 until you 2 tiers are complete with wood on the top, middle, and bottom for your shelves.
8. Lastly, with your shelf upside down, attach 4 casters in each corners of the wood piece that will be on the bottom. Use the 2 locking casters in opposite corners. This will allow you to lock the shelf in place.

Fill your shelves up and invite your friends over to drink some coffee and show off your handy work!


You’re reading DIY Industrial Pipe Coffee Cart , originally posted on Homedit. If you enjoyed this post, be sure to follow Homedit on Twitter, Facebook and Pinterest.
The post DIY Industrial Pipe Coffee Cart appeared first on Home Decorating Trends – Homedit.
via. Home Decorating Trends