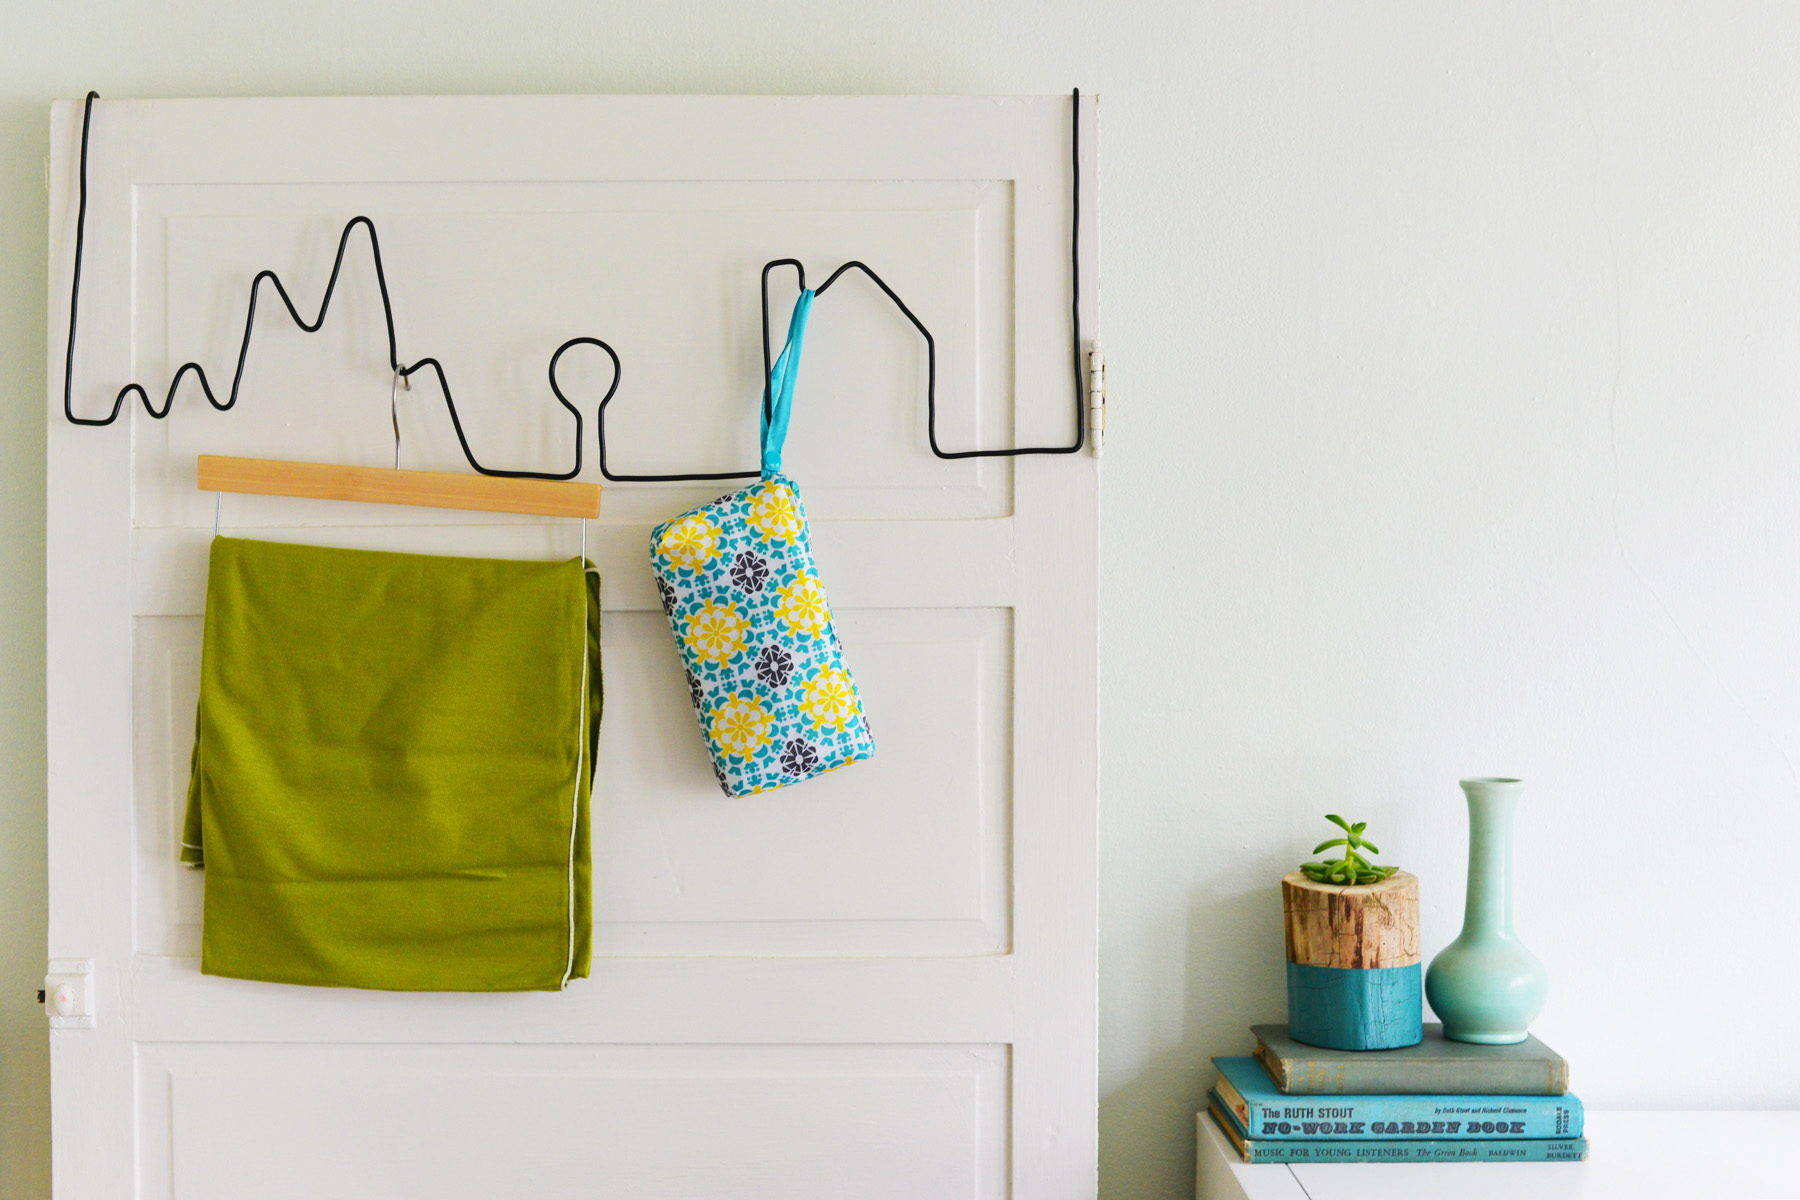
Running out of dresser storage space or looking for an alternative way to store and display accessories? This little wire hanger not only adds charm to a room, it is perfect for holding light weight extras that you may want to keep in easy reach. Perfect for scarves in an adult room, or for those cute little baby clothes you might want to show off in a nursery. Get creative and match your facade to your space! Try small flowers for a feminine touch or go modern with small boxes. The sky is the limit with what you chose to make!
Wire Hanger Supplies:
- small gauge copper grounding wire (approximately 8 ft)
- large wire cutters
- vice
- large pliers
- spray paint
- break line bender (optional for circular curves)

1. Start by straightening out the wire (it usually comes in a spool) by putting the wire out of the spool, attempting to make as straight as possible with your hands, and then feeding through a vice grip, clamping any of the curves as you feed it through

2. Once the wire is straight, start using your pliers to make bends. Start first with an over the door bend (or you can create a small loop at the beginning if you choose not to use this over the door and want to hang directly on the wall instead.
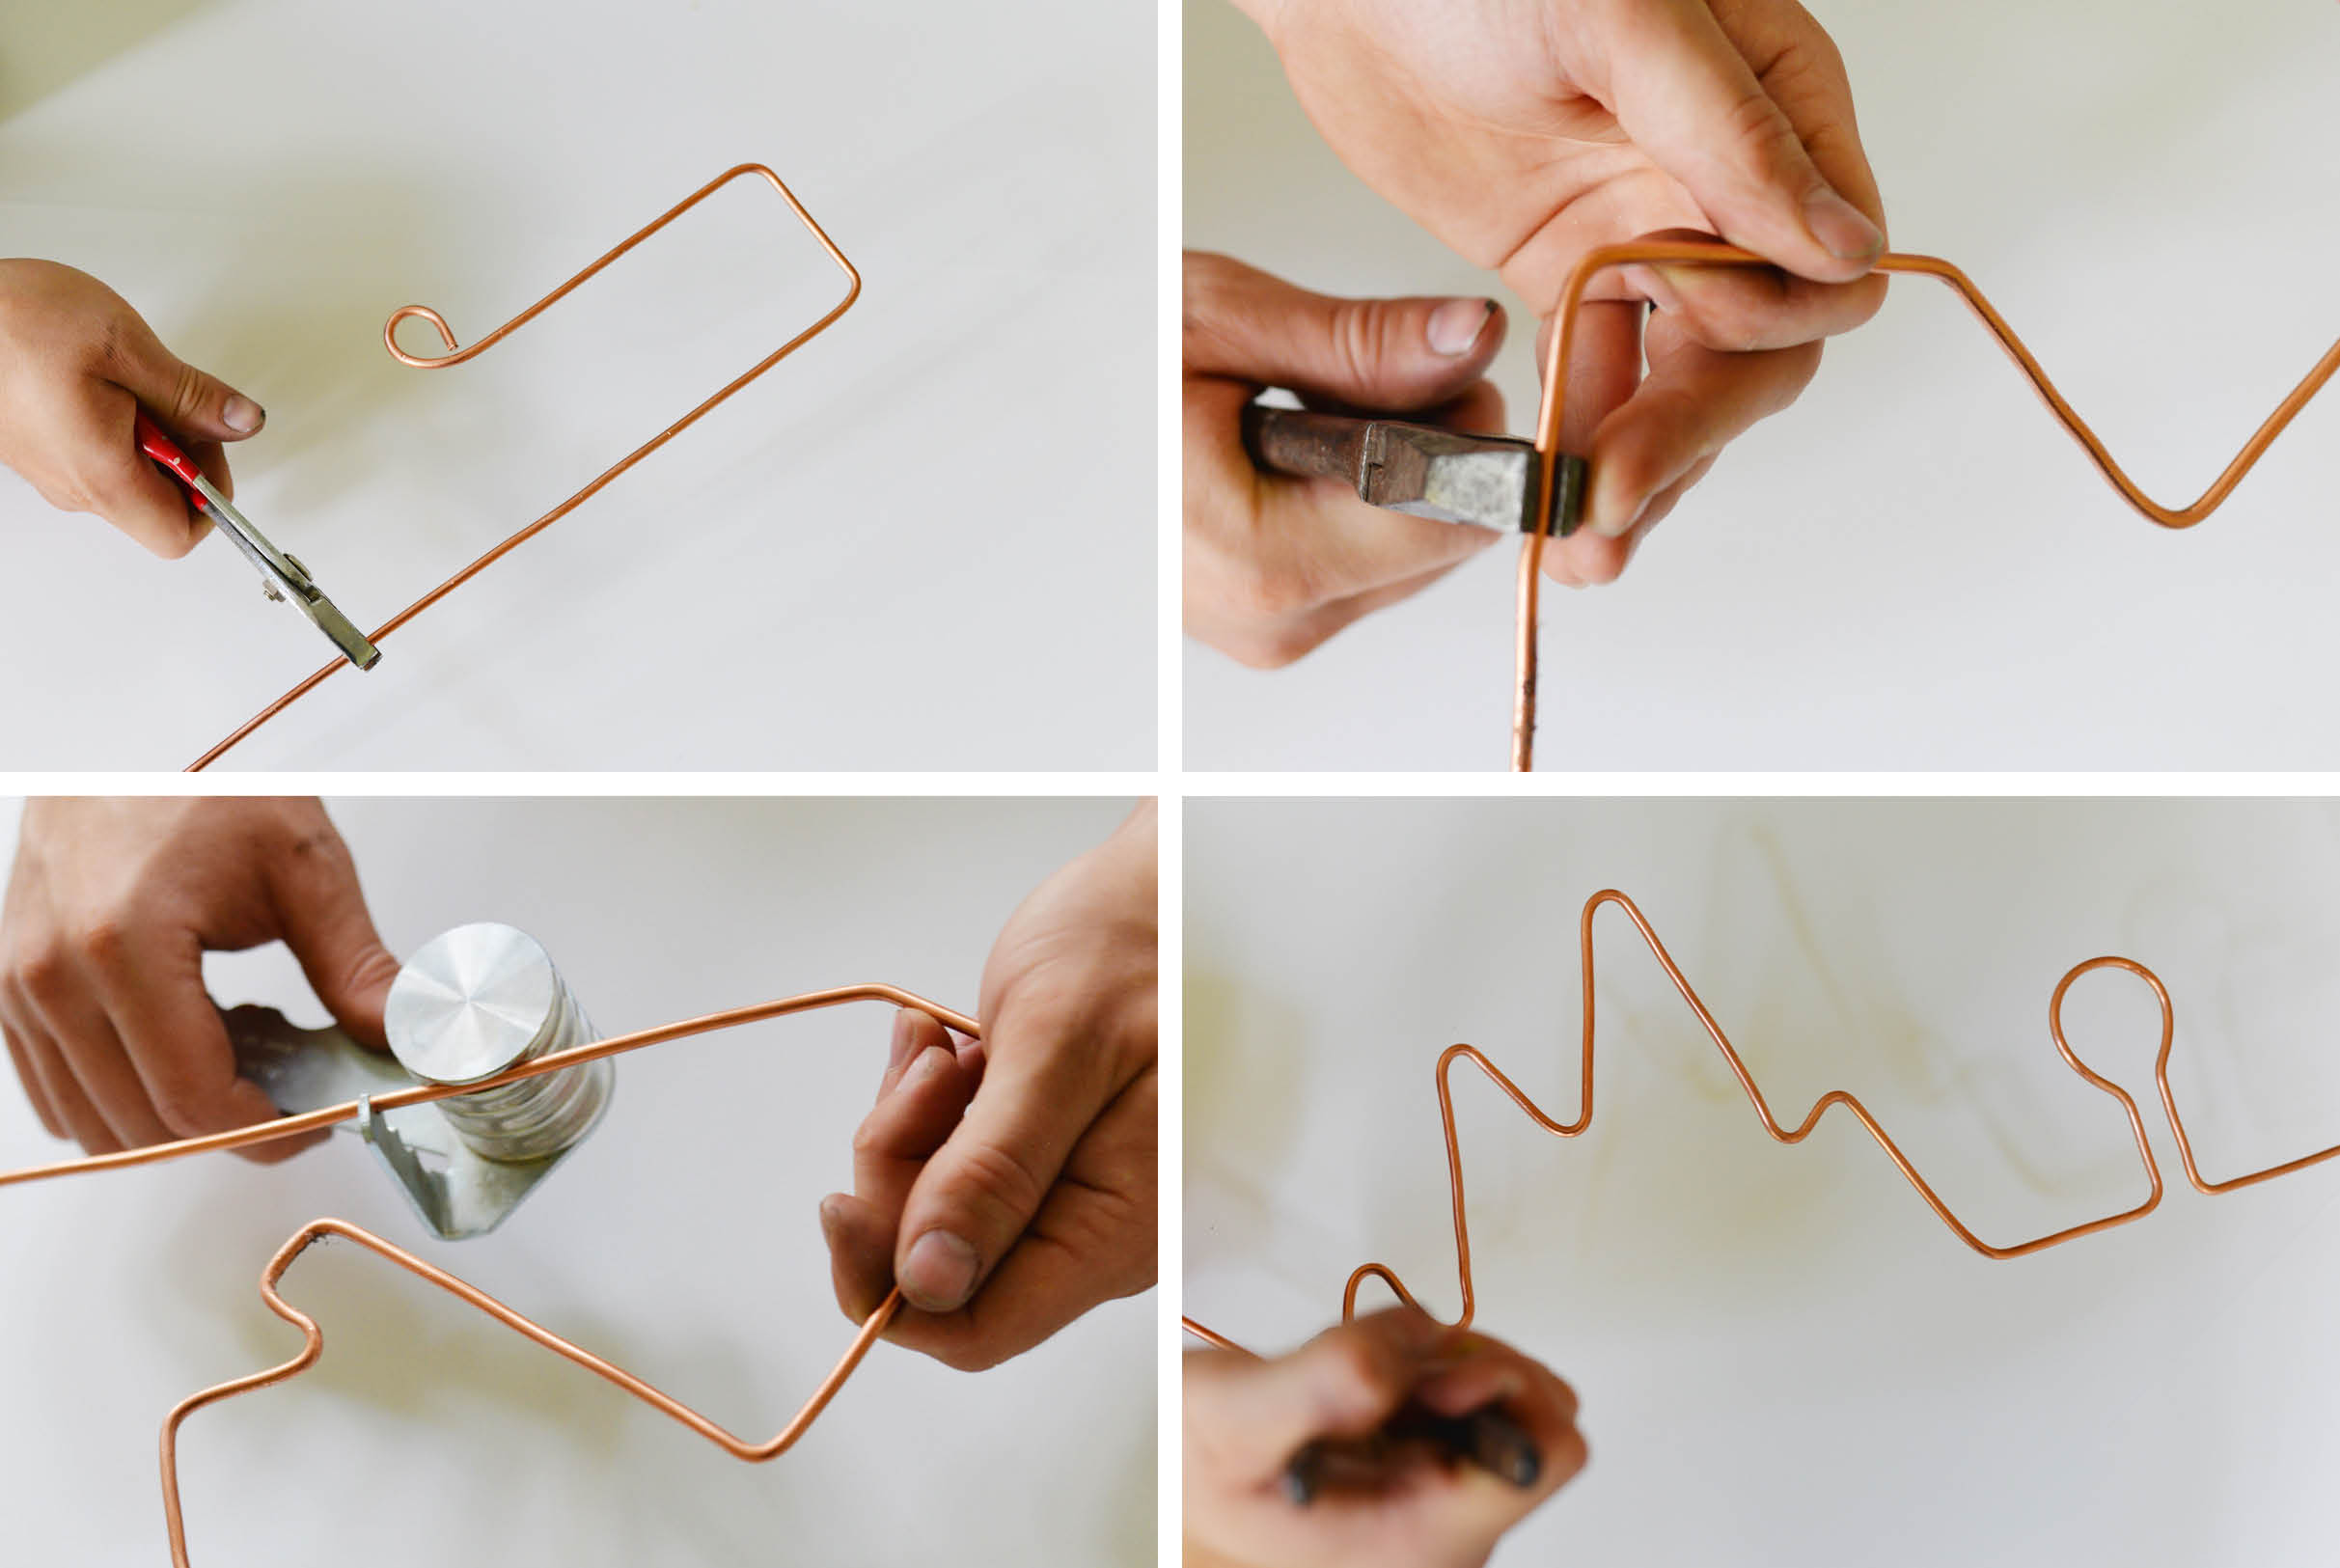
3. Carefully map out your facade and make 90 or 45 degree bends with the pliers as necessary. It may help to draw out your facade on a large piece of craft paper and follow the bends that way.
4. If you have any curves in the facade (like a “tree”), you can use a break line bender (typically used as an automotive tool) to create a nice rounded curve without dents or odd angles. If you have more angular bends like this mountain or house the pliers are best for bending.

5. Once the facade is finished, bend up again and over to create the other side that will go over the door (or end with a small loop that could fit over a nail if you decide to keep it flat and hang it on the wall). Cut off any excess.
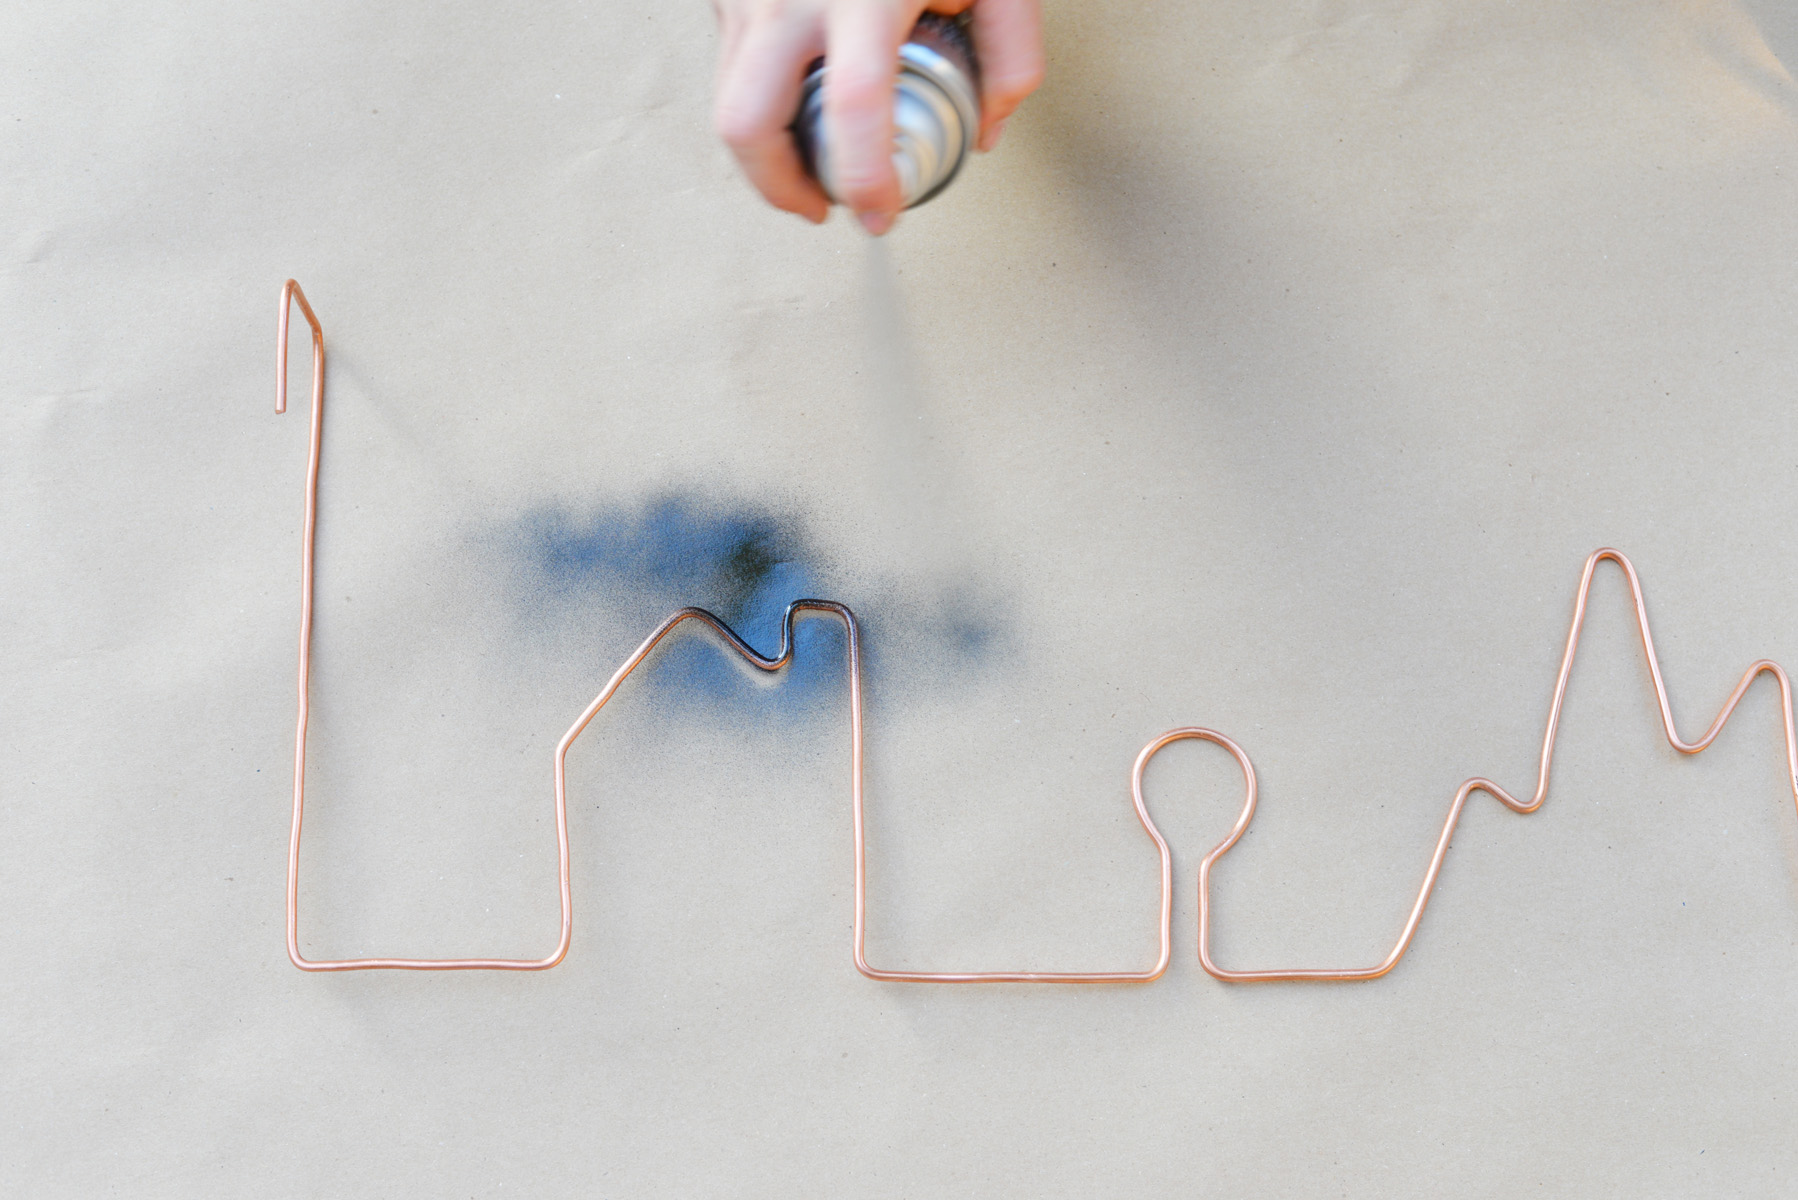
6. Lastly spray a nice even coat of spray paint (if desired) to your finished product. Let it dry completely and you are finished!
Place over a door and hang light weight items like scarves, belts, or other accessories. This facade is perfect for a baby’s room to hold swaddling blankets, hooded towels, or those cute onesies.


Helpful notes:
1. Cooper and aluminum tend to be pretty malleable so they would work well for this project. The smaller gauge you go on the wire the less likely it is to hold weight (although the easier it is to bend for the project). If you plan to hold heavy items use a larger gauge wire. If you are just using merely for the facade a smaller gauge wire is perfect and easier to work with.
2. If you plan to use this as a door hanger, keep in mind that the wire over the door may impact your door clearance. Make sure that your door would support this in the existing space (particularly closer to the hinges) before creating the door hanging part of the project. You may want to alter this and create two small loops at each end of the facade and hang it on nails on the wall instead if the clearance is an issue.
You’re reading DIY Facade Wire Hanger , originally posted on Homedit. If you enjoyed this post, be sure to follow Homedit on Twitter, Facebook and Pinterest.
The post DIY Facade Wire Hanger appeared first on Home Decorating Trends – Homedit.
via. Home Decorating Trends